Where Grab Bars Should Go in Every Room: A Placement Guide with Heights, Angles, and Common Mistakes

LBF Team • November 12, 2026
  • Proper placement matters: Grab bars provide vital support during daily transitions, but their effectiveness depends heavily on correct positioning, height, and orientation.


  • Beyond the bathroom: While bathrooms are the primary location for grab bars, installing them in bedrooms, kitchens, hallways, and entryways enhances overall home safety.


  • Secure installation is essential: Grab bars must be anchored to wall studs or structural blocking rather than drywall, and temporary suction-cup models should be avoided.


  • ADA standards serve as a guide: Although residential homes aren't strictly bound by ADA regulations, following ADA measurements provides a reliable foundation for home modifications.

Falls are a serious risk for older adults. According to the Centers for Disease Control and Prevention (CDC), the unintentional fall death rate for adults aged 65 and older was 69.9 per 100,000 population. Fall-related death rates have also risen considerably over the past two decades.


Whether you're stepping into the shower, getting out of bed, or carrying groceries through the garage door, fall-prevention grab bars help you move more safely and confidently.


This grab bar placement guide covers recommended measurements, ADA guidelines, installation methods, and common mistakes to avoid.

Are you looking for an expert resource in accessible spaces, special modifications for persons with mobility challenges, wheelchair accessibility, and more? Contact Lakeshore Barrier Free today.

Types of Grab Bars and How to Choose the Right One

Different types of grab bars support different movements. Choosing the right style depends on where you need support and how you plan to use the bar. Common options include:

  • Horizontal grab bars: Provide steady support while standing, walking, or lowering yourself onto a seat.
  • Vertical grab bars: Offer a secure handhold when standing up or stepping over a threshold.
  • Diagonal grab bars: May support specific movements between sitting and standing.
  • Flip-up or fold-down grab bars: Provide support in smaller spaces and fold away when not needed.
  • Floor-to-ceiling poles: Offer a gripping surface near beds, chairs, or other transfer areas when properly secured.
  • Decorative grab bars: Combine practical support with finishes that match your home's interior.


Grab Bar Diameter and Grip Size

The standard ADA grab bar diameter ranges from 1¼ inches (32 mm) to 2 inches (51 mm). If you have smaller hands or arthritis, a 1.25-inch diameter bar may feel more comfortable.


Materials, Finishes, and Weight Capacity

Stainless steel holds up well in wet areas. You can choose chrome, brushed nickel, matte black, or oil-rubbed bronze finishes to match your space.


Choose a 250-lb grab bar rated to resist at least 250 pounds of applied force when installed according to its specifications.


Leave 1.5 inches of clearance between the bar and the wall. Never use suction-cup bars in place of permanently mounted bars for weight-bearing support.


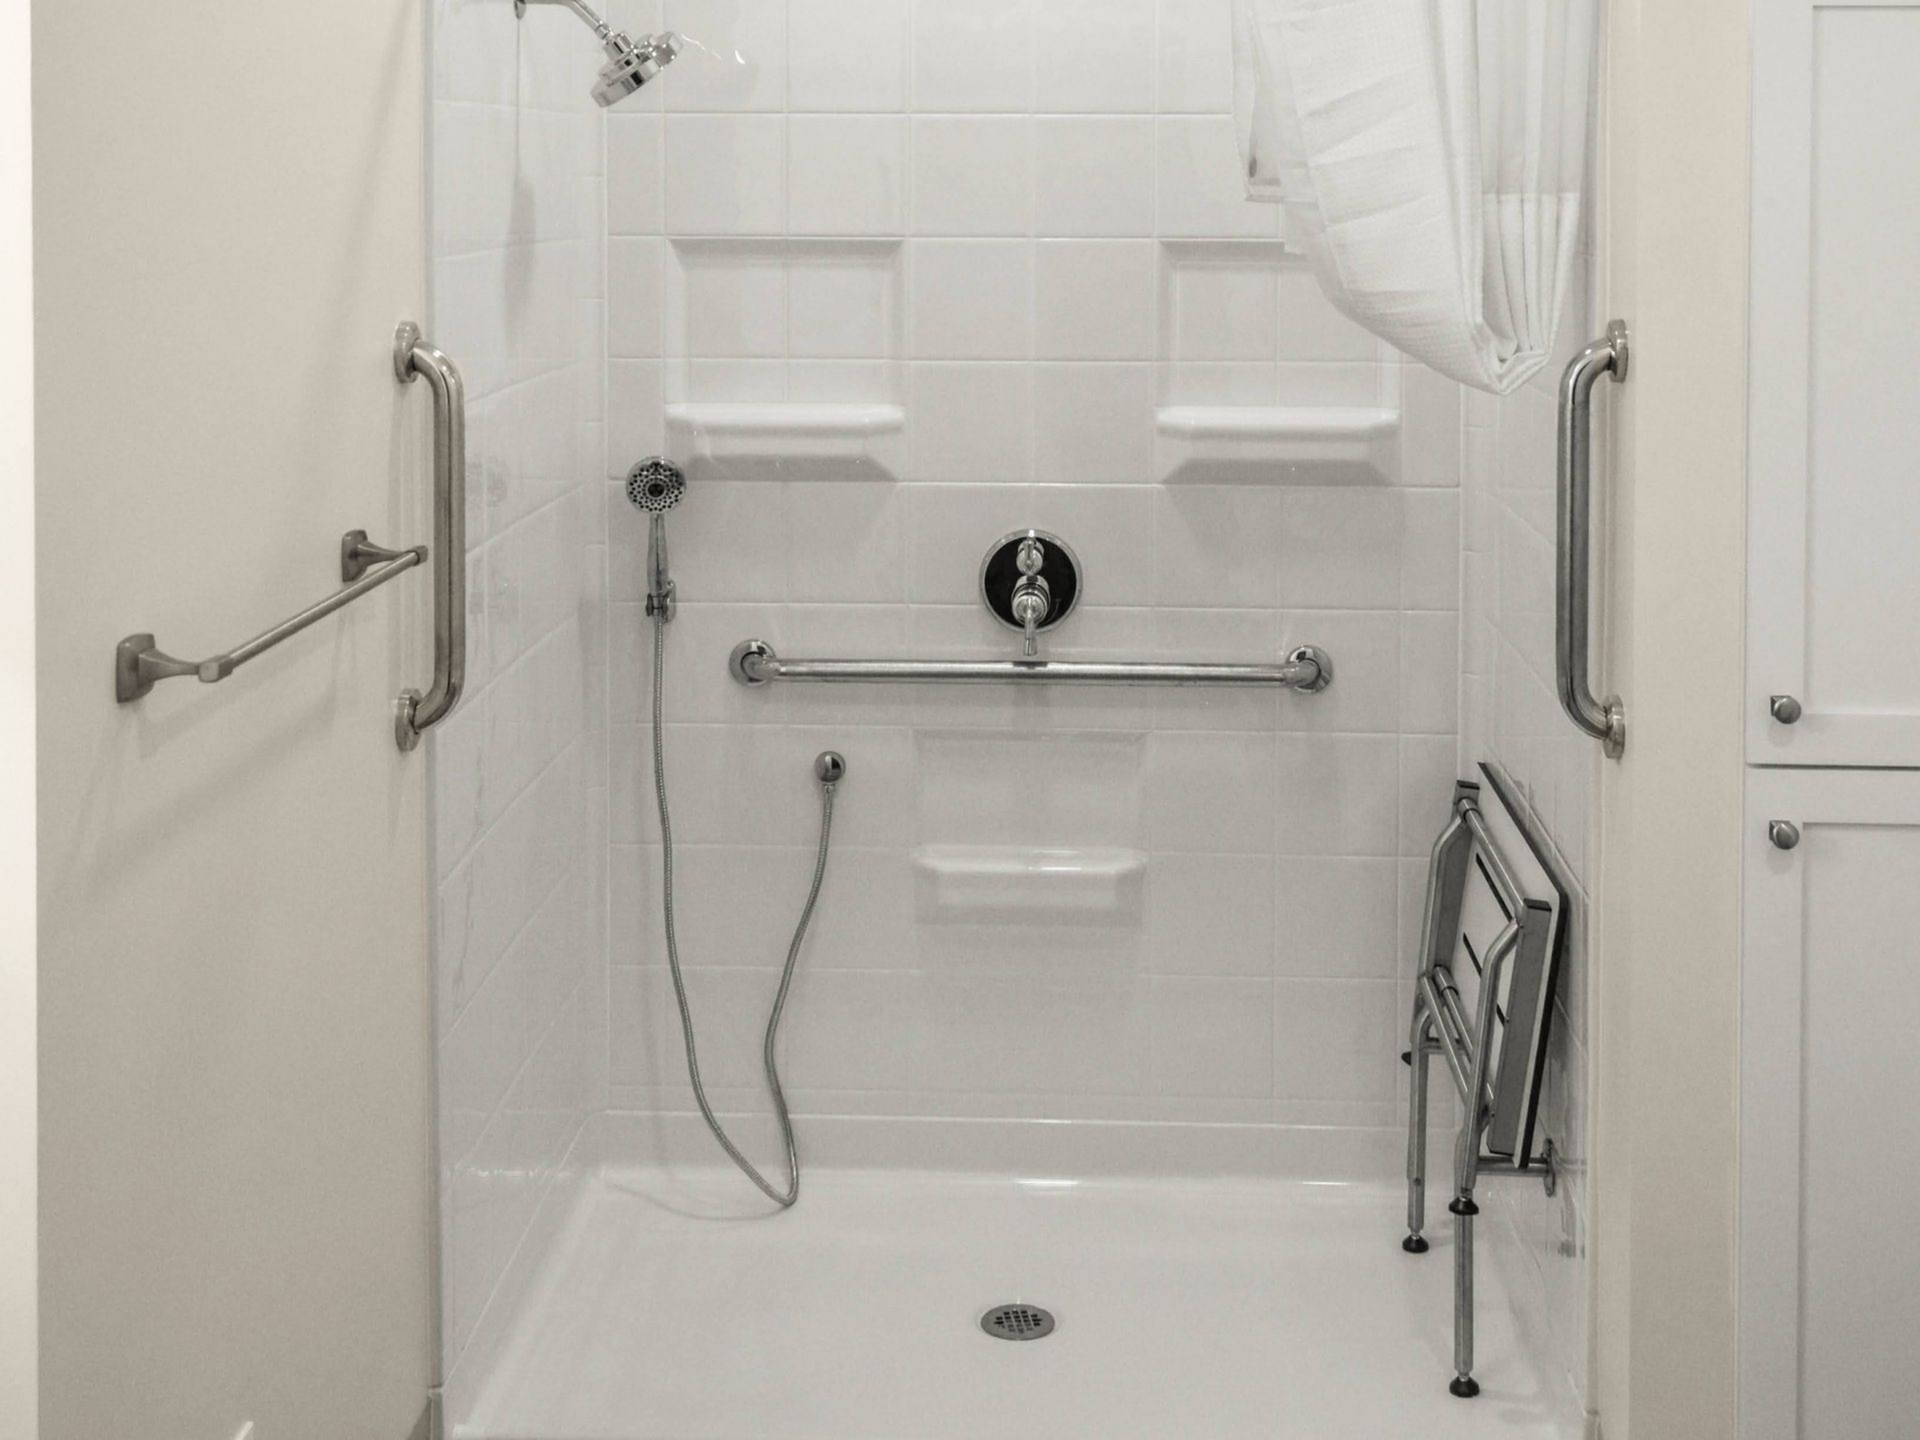
Accessible white shower with grab bars, handheld showerhead, fold-down seat, and roll-in entry.

Grab Bars Can Go Anywhere You Want 

When you think of grab bars, you probably picture the bathroom first. But you may need support elsewhere, too. Notice how often you reach for a wall in a doorway, steady yourself on a countertop, or hold furniture to get out of bed. Those movements show where support belongs.


You can install grab bars wherever you change positions, step over obstacles, or need balance support. Bathrooms are the most common location, but your kitchen, bedroom, hallways, stairways, and entryways can also benefit from fall-prevention grab bars.


You need to know where to put grab bars, how high to mount them, and which direction they should face.


Grab Bar Placement in the Bathroom: Toilet Area

Sitting down and standing up at the toilet demand balance, coordination, and leg strength. Knee pain, hip discomfort, or muscle weakness can make these movements difficult. Proper grab bar placement near toilet fixtures gives you a stable surface to hold while changing positions.


Side Wall Grab Bar: Horizontal Placement

Your horizontal side wall grab bar should measure at least 42 inches long under standard ADA toilet configurations. Mount it at a toilet grab bar height of 33 to 36 inches above the finished floor, measured to the top of the gripping surface.


Under ADA requirements, your side bar should:

  • Start no more than 12 inches from the rear wall.
  • Extend at least 54 inches from the rear wall.
  • Provide a continuous gripping surface beside the toilet.


This arrangement lets you steady yourself while lowering onto the toilet and standing afterward. Position the bar where you can reach it without twisting or stretching.


Rear Wall Grab Bar: Horizontal Placement

A rear wall grab bar gives you another support point when repositioning. ADA guidelines specify a bar at least 36 inches long that extends:

  • 12 inches minimum on one side of the toilet centerline.
  • 24 inches minimum on the opposite side.
  • 33 to 36 inches above the finished floor.


The rear bar helps you shift position or steady yourself before standing. Together, side-wall and rear-wall grab bars support you from different directions.


Optional Vertical Grab Bar

Install a vertical grab bar near the front edge of the toilet for a better grip. It helps if standing from a seated position is difficult because of knee pain, hip problems, or limited leg strength.


A 12- to 18-inch vertical bar usually works when the wall has suitable mounting space. Place it to match your reach and movement.


If your bathroom has limited wall space, a fold-down grab bar is an alternative. It attaches to structural backing and moves out of the way when you don't need it.


Pro Tip: The ADA toilet grab bar requirements provide useful measurements for residential planning. However, your bathroom layout, physical needs, and available wall support should guide the final installation. We recommend consulting an occupational therapist, who can help identify which handholds work best for your movements.


Grab Bar Placement in the Bathroom: Shower

When using a shower, you need to step over a threshold, reach for the controls, wash while standing, and sometimes move between standing and sitting. Your shower grab bar placement should support each movement.


Shower Entrance: Vertical Grab Bar

A vertical grab bar at the shower entrance gives you something sturdy to hold while you step over the curb. A 12- to 18-inch bar works in a smaller space. If the wall and layout allow, a 42- to 48-inch bar gives you grip options at several heights.


Place the bar where you can grab it before you enter. You should have a secure grip while both feet are still outside the shower, keep support as you step in, and reach the same bar when you leave.


Shower Back Wall: Horizontal Grab Bar

A horizontal grab bar on the back wall supports you while you stand or reposition. In most homes, a bar at least 24 inches long gives you a useful gripping area.


The most typical shower grab bar height is 33 to 36 inches above the shower floor. Your bar length and position still depend on your shower configuration, especially if you follow ADA standards for accessible shower types.


Control Wall: Horizontal Support

Reaching for the faucet can shift your balance. A horizontal grab bar near the control wall gives you something solid to hold while you adjust the water temperature or use the showerhead.


Keep the bar clear of the faucet, handheld shower, and other fixtures. You should be able to operate the controls from a comfortable, stable position.


Shower Seat Wall: Vertical Support

If you use a shower seat, consider a vertical bar near the seating area to help you sit, stand, and reposition. Accessible shower designs have specific requirements, though.


Standard roll-in showers commonly use a 30-by-60-inch minimum configuration, while transfer-type showers typically use 36-by-36 inches. A roll-in shower with a seat may need a long horizontal gripping surface on the wall opposite the seat, depending on the layout.


Transfer-type showers use different bar arrangements, including specific locations near the seat and controls. For roll-in shower grab bars, follow the applicable design requirements and your transfer method for final measurements.


The best arrangement supports how you enter, bathe, reach, sit, stand, and exit.


Stepping into a bathtub can be challenging because you need to lift one leg over the tub wall while balancing on the other. Wet surfaces and limited room for movement also add to the challenge. 


That's why, for many homeowners, a vertical bar near the tub entrance is the first thing to consider. Additional horizontal bars can provide support while standing or moving toward a bath seat.


Control End Wall: Vertical or Horizontal Grab Bar

The control end is the side of the bathtub where the faucet and water controls are located. Usually, a vertical or horizontal grab bar measuring approximately 12 to 24 inches provides a useful gripping point near this area.


However, a vertical bar is particularly helpful when you need support at different heights while entering or exiting. Place it where you can reach it before lifting your foot over the tub edge.


Back Wall: Horizontal Grab Bar

The back wall is the long wall running alongside your bathtub. Placing a horizontal grab bar here provides support when you are standing or repositioning yourself.


For general residential planning, 33 to 36 inches above the bathroom finished floor is a useful starting measurement for the upper bar. However, if you are following ADA bathtub specifications, the exact configuration also depends on the type of seat.


Bathtubs with Permanent Seats

A bathtub with a permanent seat has a fixed seating surface at the head end.


Under ADA guidelines, this configuration requires two horizontal grab bars along the back wall.


The upper bar follows the standard 33- to 36-inch height, while the lower bar sits 8 to 10 inches above the tub rim.


These bars must extend close enough to the end walls to provide support during transfers.


Bathtubs without Permanent Seats

A bathtub with a built-in seat may benefit from additional support at the head end. This gives you a place to stabilize yourself while lowering onto the seat or standing afterward. The position should match the seat height and your natural reach.


If you're planning a tub grab bar installation on a limited budget, start by assessing the entrance. You need a properly positioned vertical bar to make stepping into the bathtub more manageable. The final grab bar height for your bathtub must align with the tub configuration.


Beyond the Bathroom: Grab Bar Placement in the Kitchen

Your kitchen demands frequent standing, reaching, bending, and turning. These movements get tiring while you cook, wash dishes, or move between appliances. Kitchen grab bars give you support where you need it most.


Near the Sink and Countertop

A horizontal grab bar near the sink helps you keep your balance during long stretches of standing. Mount it at about 34 to 36 inches as a starting point, and keep it clear of cabinet doors, drawers, and appliances.


Beside Kitchen Islands

If you lean on your kitchen island for balance, mount a grab bar on a suitable structural surface for a more reliable handhold. Don't attach bars to thin decorative panels without adequate reinforcement.


At Cabinet Ends

A vertical grab bar near the end of a cabinet run helps you stand from a nearby chair or turn a corner. Attach it to structural backing, not cabinet trim alone.


For aging-in-place kitchen modifications, choose finishes that match your existing hardware. Brushed nickel and matte black bars blend into your kitchen.


Grab Bar Placement in the Bedroom

Getting out of bed takes several coordinated movements: you go from lying to sitting, plant your feet, and push upright. These movements get harder at night or during recovery from hip or knee surgery. Well-positioned bedroom grab bars make these transitions easier.


Grab Bar beside the Bed

Install a vertical grab bar on the wall closest to your sleeping position for support when standing. Start at about 26 to 32 inches from the floor, then adjust for your mattress height and how you move. You should reach the bar comfortably while sitting at the edge of the bed.


Bed Assist Rails and Support Poles

If your bed sits away from a wall, a bed assist rail or floor-to-ceiling support pole may work instead. Select bed rails carefully, because some designs create entrapment risks. Choose a product that suits your bed, mattress, and mobility needs.


Grab Bars near Closets

A short vertical or horizontal grab bar near your closet supports you while dressing and shifting your weight. You can also add clear walking paths, good lighting, and stable furniture for better bedroom safety.


Grab Bar Placement in Hallways, Stairways, and Entryways

Moving between rooms means turns, narrow passages, flooring changes, and obstacles. Pay attention to these areas, especially if you use a cane, walker, or other mobility aid. Well-placed entryway and hallway grab bars give you support at transition points.


Hallways: Support at Turning Points

A level hallway may look safe, but narrow spaces, poor lighting, and sharp corners can still make walking difficult. Consider installing short horizontal or vertical grab bars near:

  • Hallway corners and turning points.
  • Doorways connecting frequently used rooms.
  • Narrow passages where you regularly pause.
  • Areas where you transition between flooring surfaces.


If you use a walker or wheelchair, leave enough clearance for your equipment.


Stairways: Support during Transitions

On stairways, continuous handrails are your primary safety feature, and grab bars can't replace them. However, supplemental bars near the top or bottom landing can give you an extra handhold when you move between level flooring and stairs.


For example, a vertical bar near the final step helps you stabilize before entering a hallway. Keep it clear of the continuous stair handrail, and don't let it protrude into your path.


Entryways and Exterior Doors

Your front door, back door, and garage entrance are useful places for grab bars. You may need to balance while unlocking a door, carrying groceries, or stepping over a raised threshold.


A vertical entryway grab bar gives you a fixed point to hold during these movements. Position it beside the doorway where your hand naturally reaches, without blocking the door swing.


Outdoor Grab Bars

West Michigan weather brings rain, snow, freezing temperatures, and moisture. For outdoor installations, choose corrosion-resistant stainless steel or appropriately rated powder-coated aluminum grab bars. Marine-grade stainless steel works well in exposed locations.


Standard interior hardware can deteriorate faster outdoors, especially with moisture and winter deicing products. At Lakeshore Barrier Free, we provide accessibility modifications throughout West Michigan, including entryway improvements and broader aging-in-place projects.


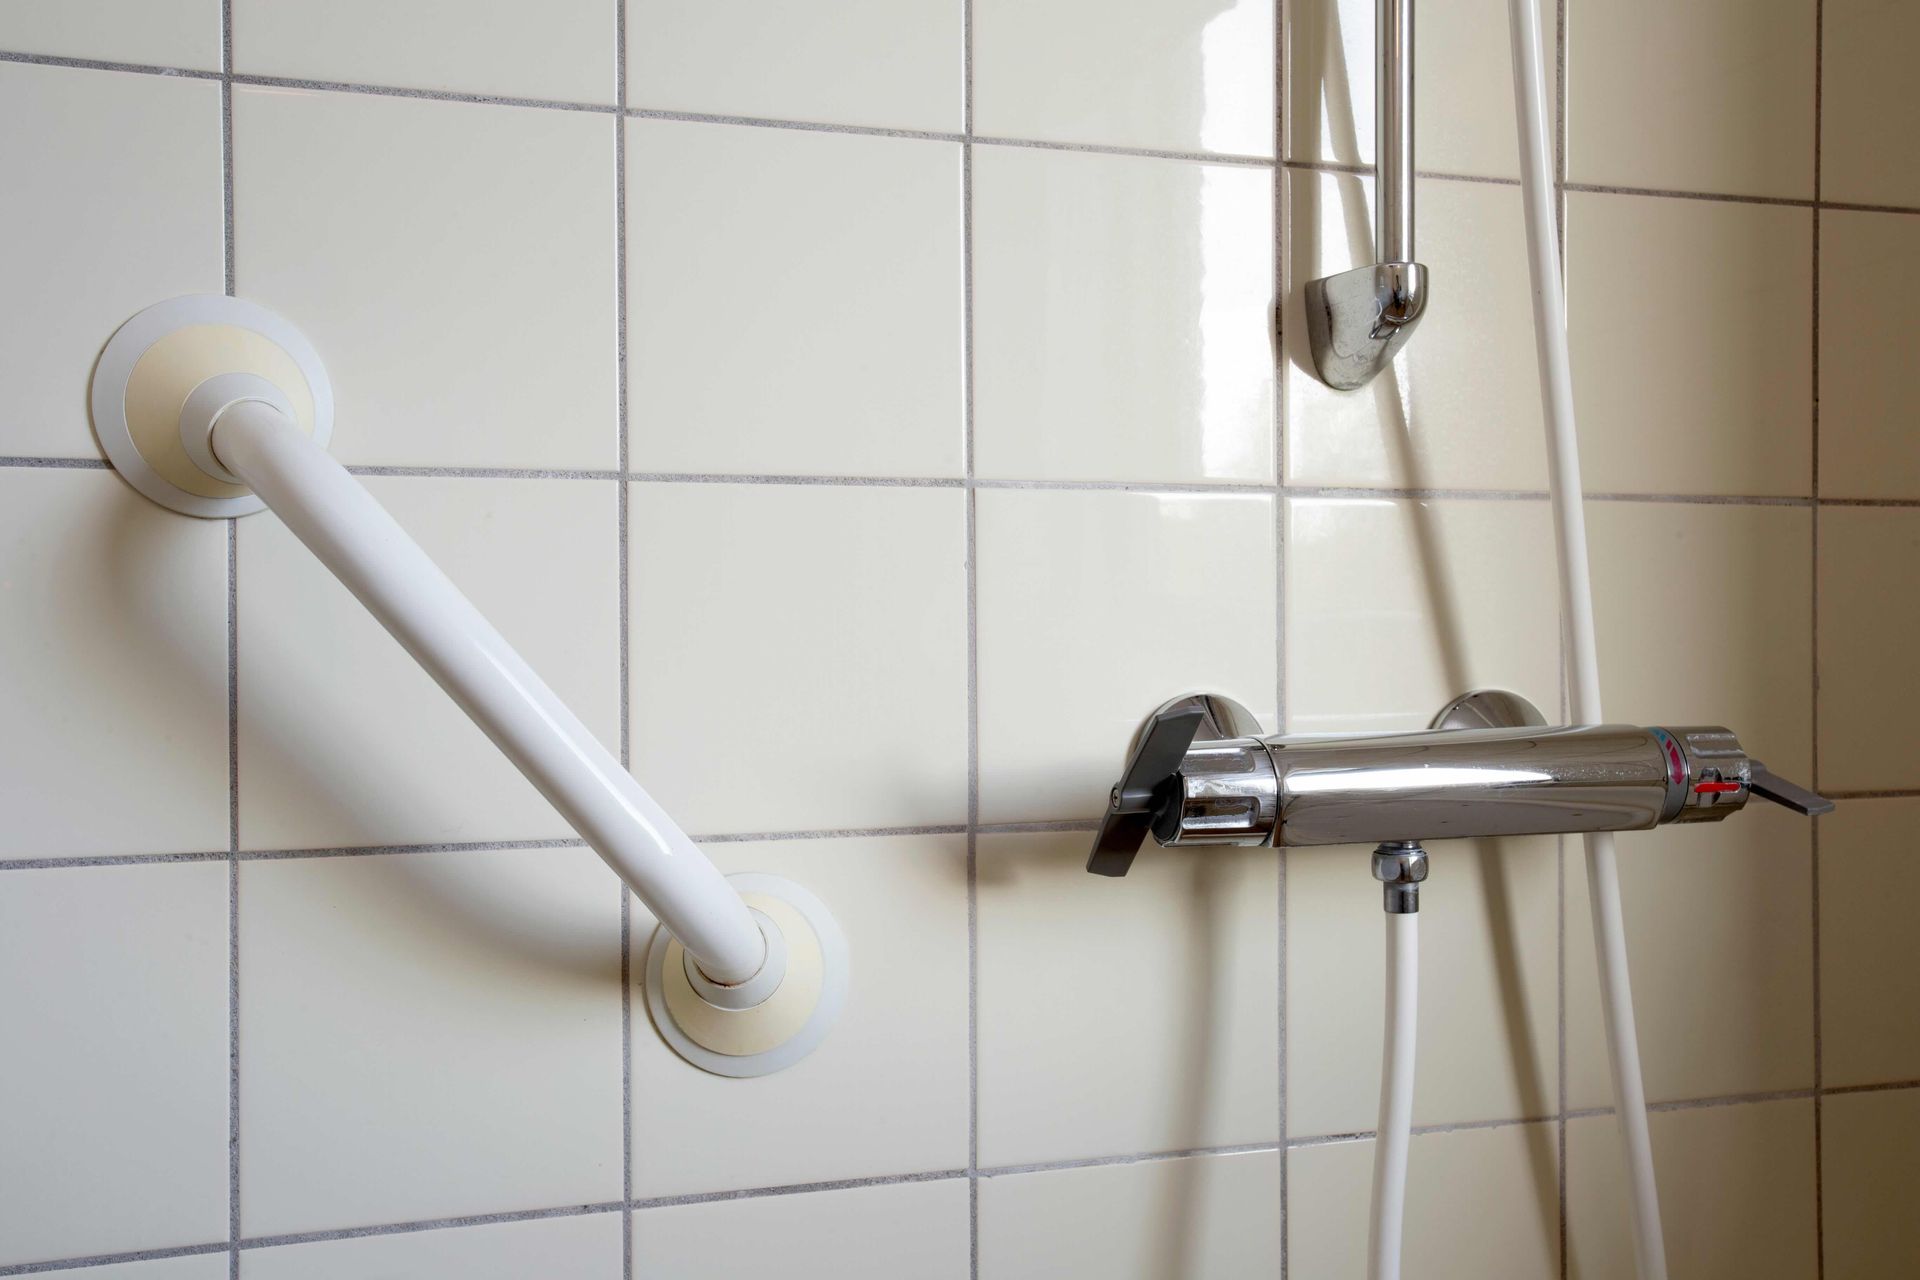
Shower area with grab bar, chrome faucet, and handheld showerhead on tiled wall

The Angle Question: Horizontal, Vertical, or Diagonal?

One of the most important decisions in grab bar installation is choosing the correct orientation. Should your grab bar be horizontal, vertical, or angled? The answer depends on the movement you need it to support.


Horizontal grab bars provide continuous support while standing or moving. Vertical bars offer a gripping point during standing transfers and threshold crossings. Diagonal bars, commonly installed at angles between 30 and 45 degrees, may help with certain movements but require careful individual placement.


Horizontal Grab Bars: Best for Continuous Support

Horizontal bars allow your hand to move along a stable surface. They work especially well when you need to maintain balance while standing or shifting sideways. Common locations include shower walls, toilet side walls, and selected hallway areas. For many accessible bathroom applications, the ADA specifies horizontal grab bars mounted 33 to 36 inches above the finished floor.


Vertical Grab Bars: Best for Position Changes

Vertical bars allow you to grip at different heights. This makes them useful when stepping over bathtub edges, entering showers, or standing from a seated position. You can install a vertical bar near your bed to provide support during your morning routine.


Unlike horizontal ADA bathroom bars, vertical residential bars don't have one universal mounting height. Your reach and movement pattern should determine their position.


Diagonal Grab Bars: When Do They Make Sense?

A diagonal grab bar is typically mounted at an angle of approximately 30 to 45 degrees. Some people find this orientation helpful when moving between sitting and standing. However, diagonal bars also present a concern: your hand may slide down the bar if you suddenly lose balance.


The slope can make it harder to maintain a secure grip during an unexpected movement. For this reason, diagonal bars should be chosen based on your transfer technique. If you're unsure which orientation to choose, horizontal or vertical grab bars are generally the more practical starting point.


We recommend talking to your occupational therapist, who can help determine whether an angled bar offers a meaningful advantage for your specific needs.


Mounting and Installation: What Holds a Grab Bar in Place

Even the best grab bar becomes dangerous when attached incorrectly. A secure installation depends on the wall structure, mounting hardware, fasteners, and the bar's intended load.


Mounting Grab Bars Into Wall Studs

You can mount grab bars directly into wall studs for structural support. Your home's studs may be spaced approximately 16 inches on center, so certain 16-inch or 32-inch grab bars may align with the framing.


However, you can't rely on bar length alone to ensure alignment. Check your bar's actual mounting-hole spacing against the stud locations, and use the fasteners specified by your grab bar manufacturer.


Installing Blocking Behind the Wall

If your safest grab bar location doesn't align with existing studs, you can have a contractor install structural blocking between the framing members. For example, a properly secured 2x8 wood board may provide a solid mounting surface for your bar.


When you renovate your bathroom, you can add blocking while the wall is open. This gives you an opportunity to prepare locations where you may need grab bars in the future.


Installing Grab Bars through Tile or Fiberglass

When you drill through tile or fiberglass, work carefully to avoid cracks, surface damage, or compromised waterproofing. Depending on your surface material, you may need carbide-tipped or diamond drill bits used at controlled speeds.


You must seal holes in wet-area surfaces following the surround and mounting manufacturers' instructions, using suitable 100% silicone sealant where specified. Your grab bar needs an underlying mounting system that carries the load; you cannot rely on tile or fiberglass alone for structural support.


Wall Clearance Requirements

For round ADA-compliant grab bars, the space between the gripping surface and the wall must be 1.5 inches. This clearance provides room for your fingers without creating an unnecessarily large gap. The bar should also have rounded edges and remain fixed without rotating in its fittings.


Testing after Installation

After installation, check your bar for movement, loose fittings, or unusual sounds. Have a qualified installer verify the mounting against the manufacturer's instructions and applicable requirements.


Don't test your bar by suddenly hanging your full body weight from it. You could damage an improperly mounted bar or injure yourself by testing it forcefully. If you notice shifting, unexpected flexing, or cracking sounds, stop using the bar until a qualified installer inspects the mounting.


7 Most Common Grab Bar Mistakes (And How to Avoid Them)

A grab bar is only helpful when you can reach it and trust its support. Common installation mistakes can leave you with bars that look secure but don't provide reliable support.


Mistake 1: Relying on Suction-Cup Grab Bars

You may prefer suction-cup grab bars because they don't require drilling. However, their attachments can be released without warning. Moisture, textured surfaces, soap residue, and temperature changes can weaken your bar's attachment.


The fix: Install mechanically fastened grab bars with suitable structural support. Don't rely on suction-cup products for weight-bearing support or fall prevention.


Mistake 2: Installing Grab Bars at the Wrong Height

If you mount a bar too high, you may struggle to reach it during imbalance. Mount it too low, and you may lack useful support while standing. For many horizontal bathroom bars, use 33 to 36 inches above the finished floor to the gripping surface's top as your reference.


The fix: Start with established guidelines, then assess your height, reach, and movement. You may need different measurements for bedroom and kitchen installations.


Mistake 3: Skipping Studs or Structural Blocking

If you attach a bar only to drywall, it can pull away under substantial force. You can't substitute ordinary drywall anchors for a properly engineered support system.


The fix: Mount your bar into studs, structural blocking, or a specifically approved grab bar anchoring system. If you're unsure what's behind the wall, ask a qualified installer to inspect it.


Mistake 4: Choosing Placement Based Only on Appearance

You may prefer a symmetrical bathroom, but balanced placement doesn't always put support within reach. If you center a bar for appearance, it may sit beyond your reach.


The fix: Position bars where your hands naturally reach during movement. Consider how you enter, turn, sit, stand, and exit before deciding on the final location.


Mistake 5: Installing Only One Grab Bar

You may need different handholds for different stages of movement. For example, you might use a horizontal toilet bar to stand but struggle to reach it as you approach.


The fix: Assess each step of how you move. You may get better support from combined side-wall, rear-wall, and vertical grab bars than from one bar alone.


Mistake 6: Ignoring Rooms Outside the Bathroom

You can fall anywhere in your home. You may regularly need balance support in your bedroom, kitchen, hallway, or garage entrance.


The fix: Walk through your home and note where you reach for walls, furniture, or countertops to steady yourself. Pay closer attention to these locations during your safety assessment.


Mistake 7: Avoiding Grab Bars Because They Look Institutional

You may hesitate to install grab bars because they remind you of hospitals. You can find modern options in finishes that suit traditional or contemporary interiors.


The fix: Choose decorative grab bars that match your fixtures while meeting appropriate strength and mounting requirements. With brushed nickel, matte black, or bronze finishes, you can make grab bars look intentional in your home.


ADA vs. Residential: What Actually Applies to Your Home

You may have heard that all grab bars must meet ADA requirements. If you own an ordinary private single-family home, ADA technical standards don't automatically apply. The Americans with Disabilities Act sets accessibility requirements for covered public facilities and commercial spaces.


You can still use ADA measurements to plan your installation. The 2010 ADA Standards for Accessible Design give you specifications for grab bar height, diameter, clearance, placement, and strength. Use these measurements as a starting point, then assess your reach and movement needs.


What about Michigan Residential Requirements?

Your Michigan home modifications may need to meet state or local building requirements. If you use government funding, insurance, or other assistance, check whether your funding source sets additional conditions. What you must follow depends on your property type, planned work, and funding program.


If you plan to age in place, incorporating accessibility practices during renovations may reduce later modifications.

In West Michigan, you can work with Lakeshore Barrier Free to assess your needs and plan modifications around applicable requirements.


When to Call a Professional vs. DIY

You might expect the grab bar installation to be simple. But you need more than basic tools to choose a reachable location and secure the bar.


When DIY May Be Appropriate

You may be able to handle a simple installation if you can locate wall studs accurately and match the mounting hardware to your wall construction. Make sure you understand the manufacturer's fastening requirements. If you're unsure about structural mounting, asking a professional is the best choice.


When You Should Hire a Professional

Consider professional grab bar installation when you:

  • Want to mount bars through tile, stone, or fiberglass.
  • Cannot confidently locate structural framing.
  • Need additional blocking behind the wall.
  • Have a project that involves several rooms.
  • Require fold-down bars or specialized mounting systems.
  • Use a wheelchair, walker, or transfer equipment.
  • Need help choosing safe locations.


You can work with an occupational therapist (OT) to assess your movements and identify where you need support.

Then, have a qualified accessibility contractor handle your structural mounting and installation.


You can discuss your accessibility needs during a free consultation with Lakeshore Barrier Free. When appropriate, your team can coordinate with your occupational therapist, case manager, nurse, or insurance adjuster.


Frequently Asked Questions (FAQ Section)


How High Should Grab Bars Be From the Floor?

We recommend mounting horizontal bathroom grab bars 33 to 36 inches above the finished floor, measured to the top of the gripping surface. This is the ADA range for most toilet, shower, and bathtub bars. It's a reliable starting point. Vertical and bedroom bars often need different heights based on your reach, so we set each one around how you move.


Can Grab Bars Be Installed on Tile Without Cracking It?

Yes, you can install grab bars through tile without cracking it using the right tools and technique. We use carbide or diamond drill bits matched to your tile material. We also anchor every bar to solid support behind the tile and seal each hole to keep water out.


Do Grab Bars Decrease Home Value?

Grab bars don't automatically lower your home's value. Buyers who want convenience, aging-in-place, or multigenerational living often welcome well-installed accessibility features. The effect still depends on your local market and the quality of the installation. Our decorative finishes help the bars blend into your home.


How Many Grab Bars Do I Need in My Bathroom?

Most bathrooms need three to five grab bars. A typical setup includes one or two bars by the toilet, a vertical bar at the shower entrance, and a horizontal bar inside the shower. You may also want support near the shower controls, a bathing seat, or the sink. We can help you decide during a walkthrough.


Are Suction Cup Grab Bars Safe?

Don't rely on suction-cup grab bars for weight-bearing support or fall prevention. Moisture, soap residue, and surface changes can loosen their grip without warning. Choose properly rated bars with mechanical fasteners and structural mounting. We can install these for you.


What Is the Difference Between a Grab Bar and a Towel Bar?

A grab bar is built and mounted to support substantial force, while a towel bar only holds towels. ADA-compliant grab bar assemblies must withstand at least 250 pounds of applied force. No towel bar is rated for that. Some decorative products do both, but only trust one for body support if the manufacturer rates it as a grab bar. If you're unsure about a bar you already have, we can check it and replace it if needed.


Does Medicare or Insurance Cover Grab Bar Installation?

Original Medicare generally doesn't cover routine grab bar installation as a home modification. Its durable medical equipment coverage applies to qualifying medical equipment, not bathroom remodeling or permanent fixtures. 

Medicaid waiver programs, veterans' benefits, Medicare Advantage supplemental benefits, or private insurance may help in some cases, depending on your eligibility and plan terms. We can help you explore funding options and coordinate with your care team.


The Right Grab Bar in the Right Place Changes Everything

Grab bars aren't just for bathrooms or older adults. Whether you're recovering from surgery, helping a parent, or planning to stay in your home long-term, they help you maintain balance during everyday movements.


However, placement and secure installation matter more than looks or price. A properly mounted $30 bar where you naturally reach will help you more than a costly decorative one in the wrong spot. Walk through your home and notice where you grip a countertop, touch a wall, or steady yourself in a doorway. Those spots show you where support belongs.


If you're unsure where grab bars should go in your home, Lakeshore Barrier Free can help. Serving homeowners throughout Grand Rapids, Holland, Muskegon, Big Rapids, and surrounding West Michigan communities, we provide accessibility consultations and practical home modification solutions.


During your consultation, you can discuss how you move through your space, which activities feel difficult, and where additional support may be helpful. Contact us now to schedule a free consultation.

Brandon Sawyer

ABOUT THE AUTHOR

Brandon Sawyer is the owner and project manager of Lakeshore Barrier Free, a veteran-owned barrier free remodeling company based in West Michigan. Since co-founding the company in 2017, Brandon has helped homeowners create safer, more accessible spaces through wheelchair ramps, accessible bathroom remodeling, and other home modifications that support aging in place, disability access, and independent living. He is a U.S. Marine Corps veteran and a CAPS-certified aging-in-place specialist. Brandon and the Lakeshore Barrier Free team serve families across Grand Rapids, Holland, Muskegon, Big Rapids, and surrounding Michigan communities with practical guidance and high-quality accessibility solutions.

TALK TO THE EXPERTS OF LAKESHORE BARRIER FREE TODAY!

We believe that everyone should have access to every area of their home! We work directly with you to make sure that every grab bar, bathroom sink, kitchen countertop, patient lift, and more is at the perfect location for you and your loved ones. Call us at (616) 477-2685 or email us at Info@LakeshoreBarrierFree.com

Share this blog

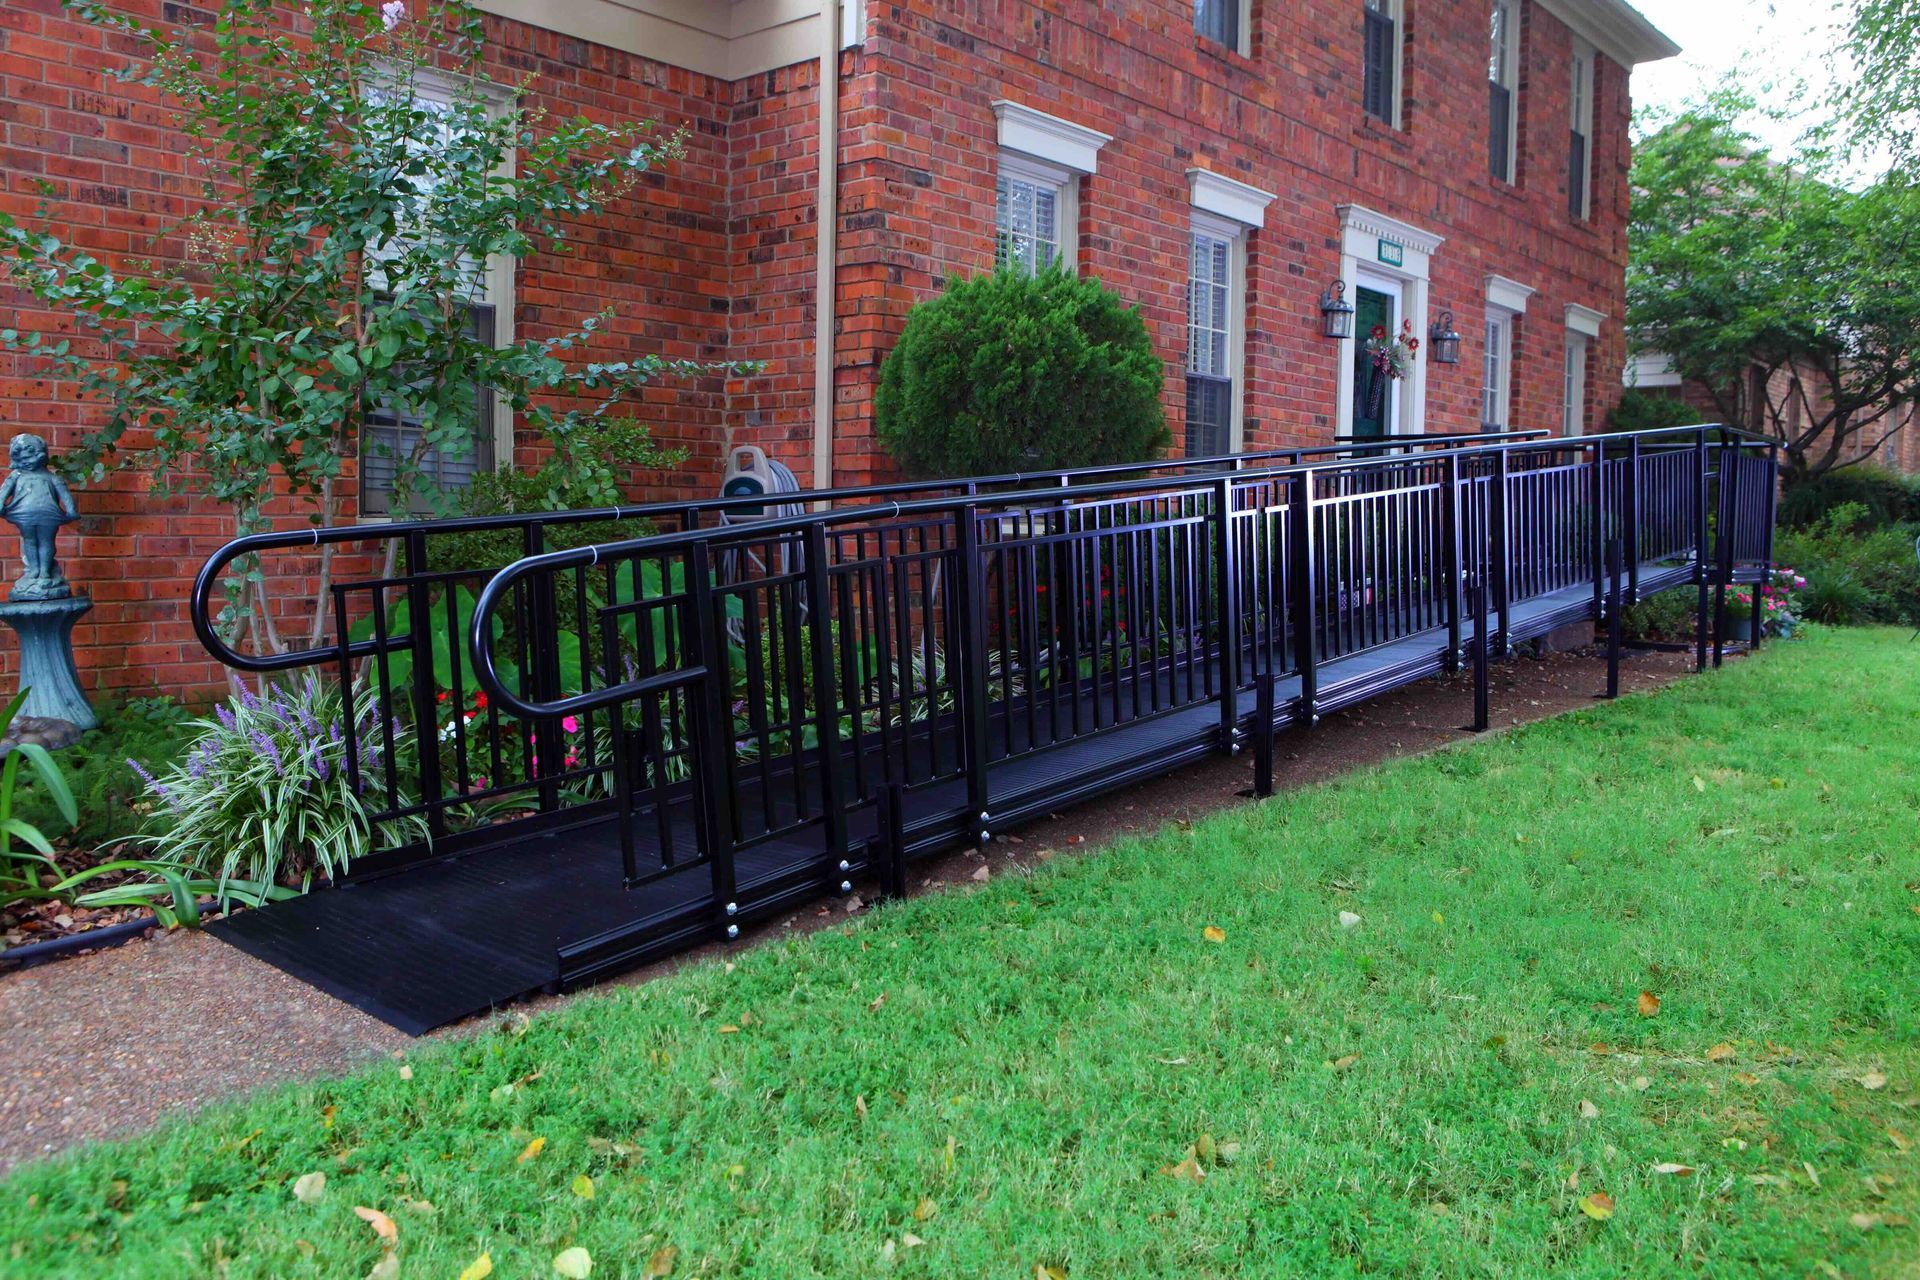
A handicapped ramp is in front of a brick building.
By LBF Team • October 28, 2026
Need a wheelchair ramp after surgery in West Michigan? Use this checklist to plan a home assessment, rental, installation, and safe return home.
Back patio with covered awning, stairs, white railing, and a gray couch beside a brown house
By LBF Team • October 12, 2026
Learn how to modify your home for aging in place with practical guidance on ramps, grab bars, bathroom safety, stair lifts, and room-by-room accessibility improvements.
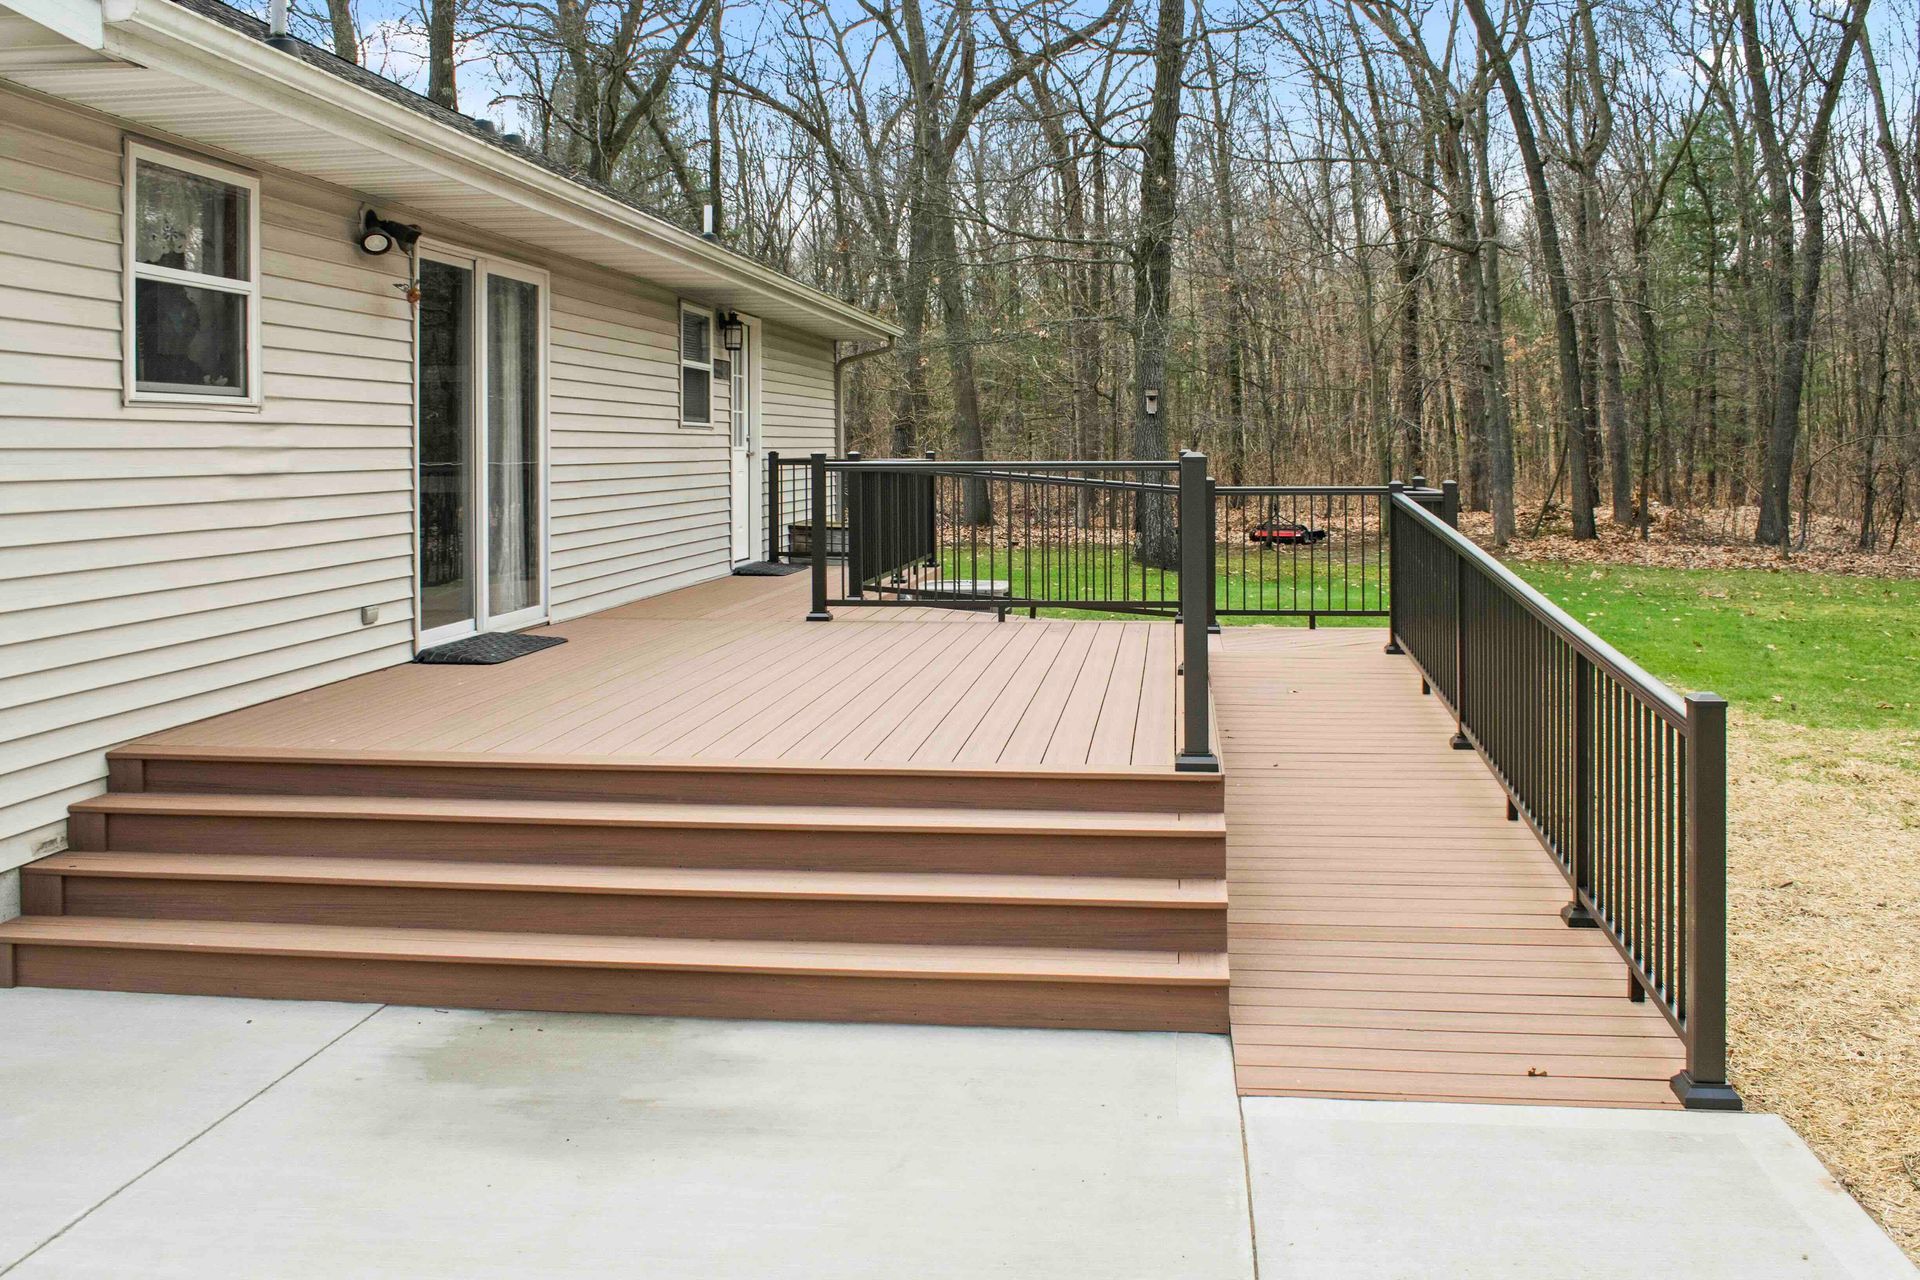
Back deck with wooden steps, railing, and concrete patio beside a beige house and wooded yard
By LBF Team • September 11, 2026
Compare temporary, modular, and permanent wheelchair ramps in Michigan. Learn about slope, landings, winter safety, permits, costs, and funding.