What really drives wheelchair ramp pricing (it is not just the material)
Most people start by asking, “Should I get aluminum or wood?” That matters, but it’s rarely the first thing that decides cost. Think of wheelchair or handicap ramp pricing like buying a winter coat in Michigan. The brand matters, but the real issue is whether it fits your weather and your daily use.
Here are the biggest cost drivers in plain terms.
Rise and slope: The vertical height from the ground up to your doorway or porch is the starting point. A common rule of thumb is the 1:12 slope, which means 1 inch of rise needs about 12 inches of ramp run. Many ADA-compliant ramps follow this as a baseline for safer use (especially for manual chairs and caregivers). For background on slope guidance, see
ADA ramp guidelines from National Ramp.
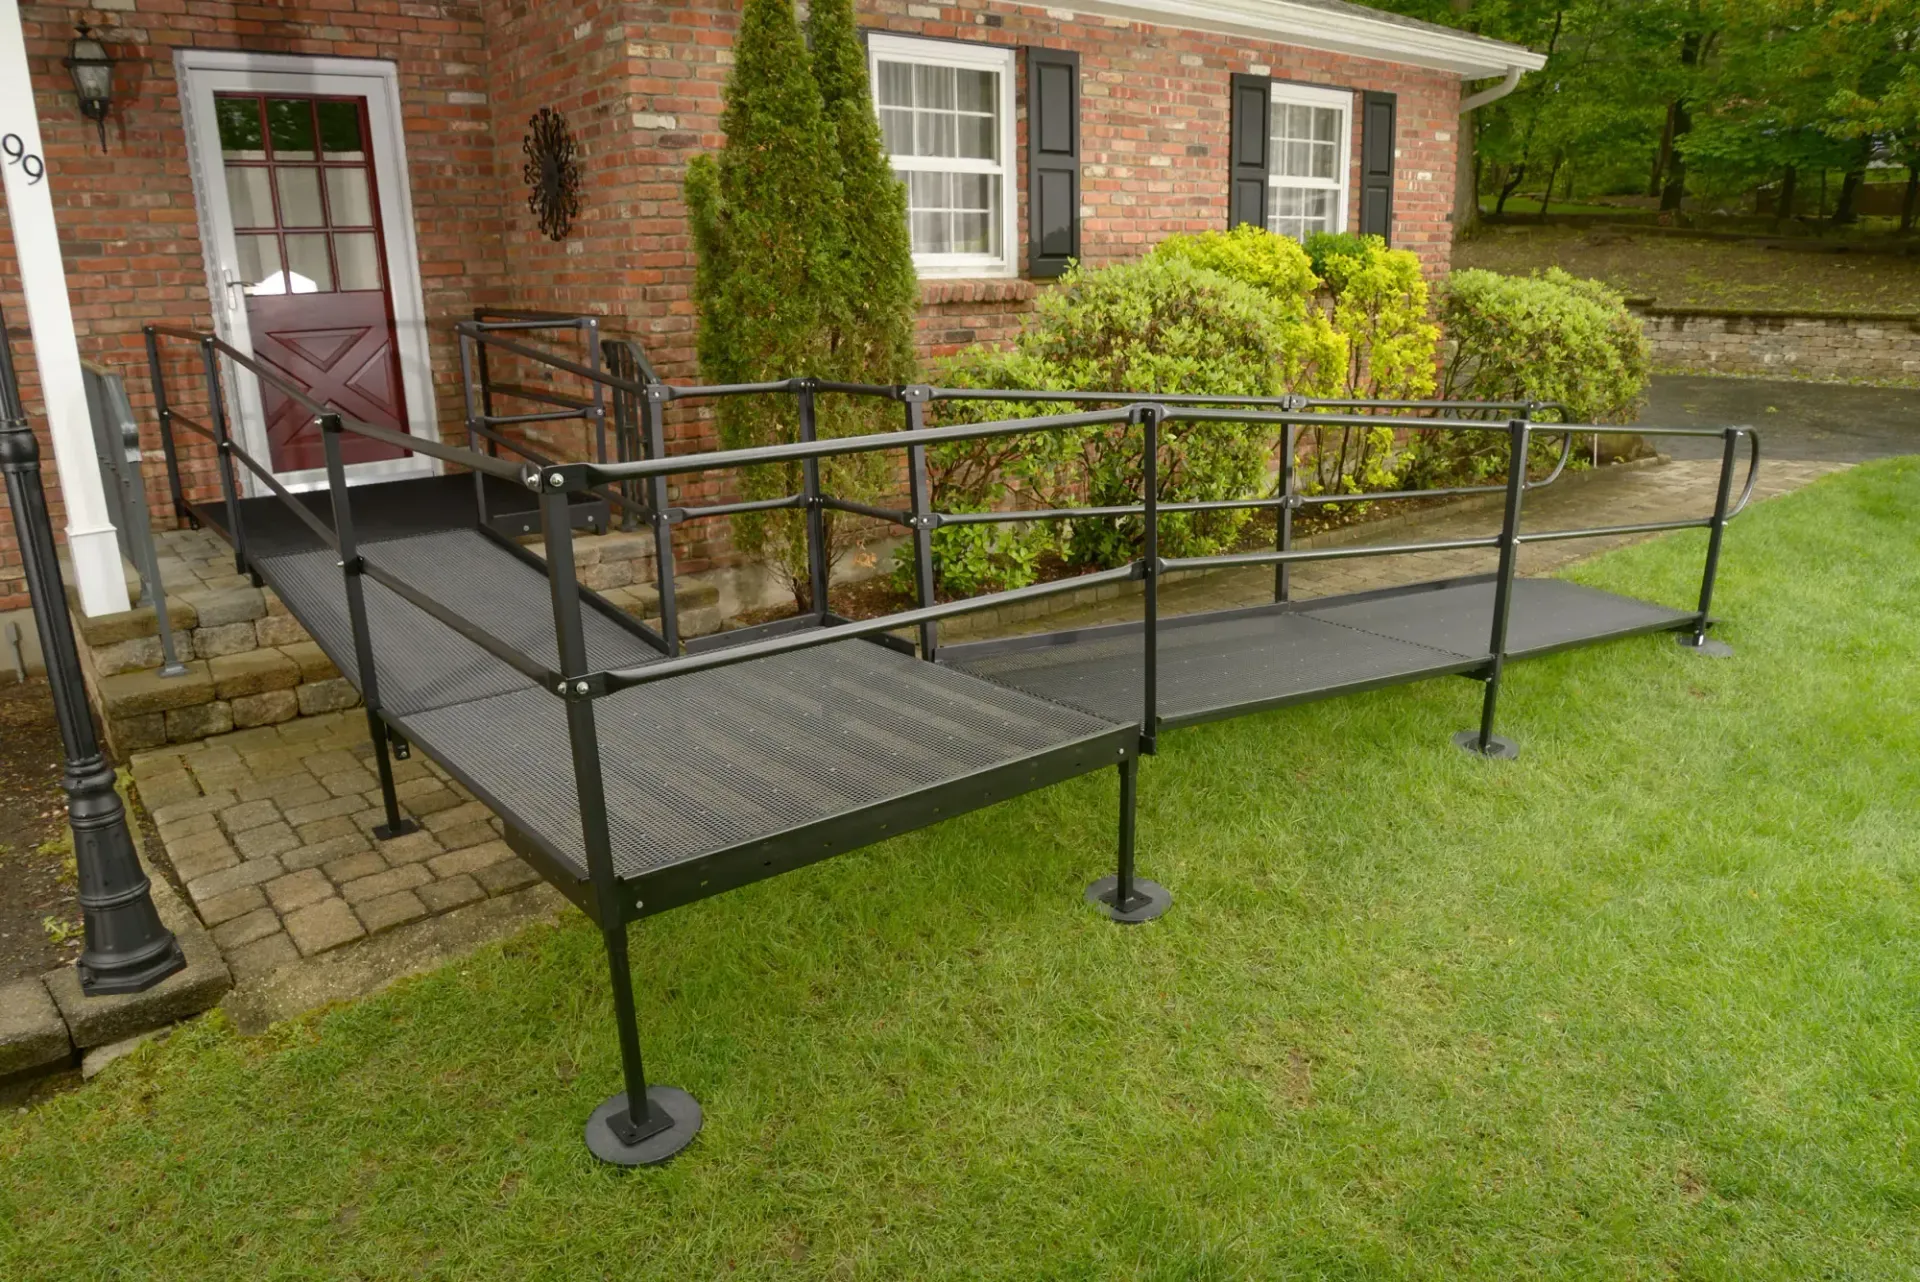
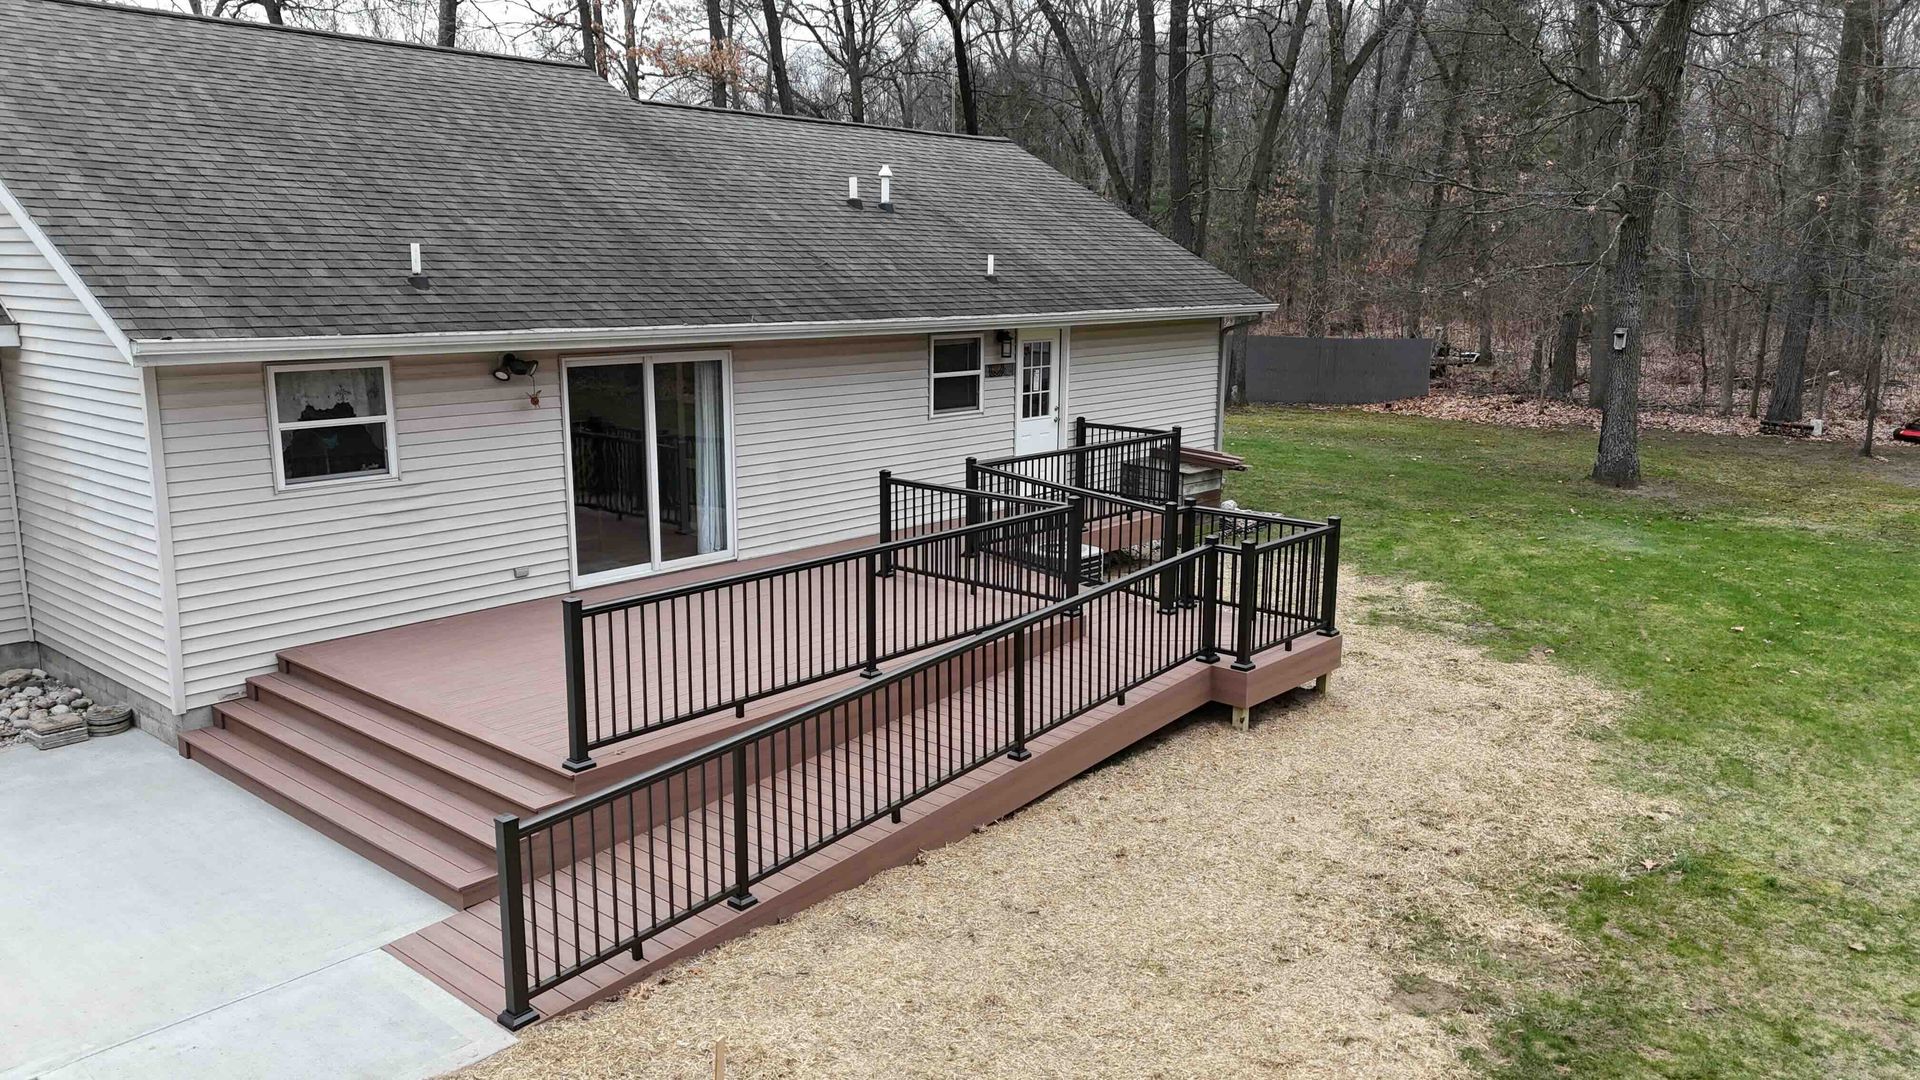
Ramp length (and the “shape” of the layout): A straight shot is often simpler and less expensive. Tight yards and narrow side entries can force switchbacks and turns, which add sections, hardware, and labor.
Platforms and landings: Many ramps need a level landing at the door, plus additional landings to rest, turn, or meet code. More landings usually mean more cost, but they also improve safety and ease of use.
Handrails (one side vs both): Handrails are not just a “nice to have.” They’re a stability feature for walkers, canes, and caregivers, meeting key safety standards. Many setups need rails on both sides, and that adds materials and installation time.
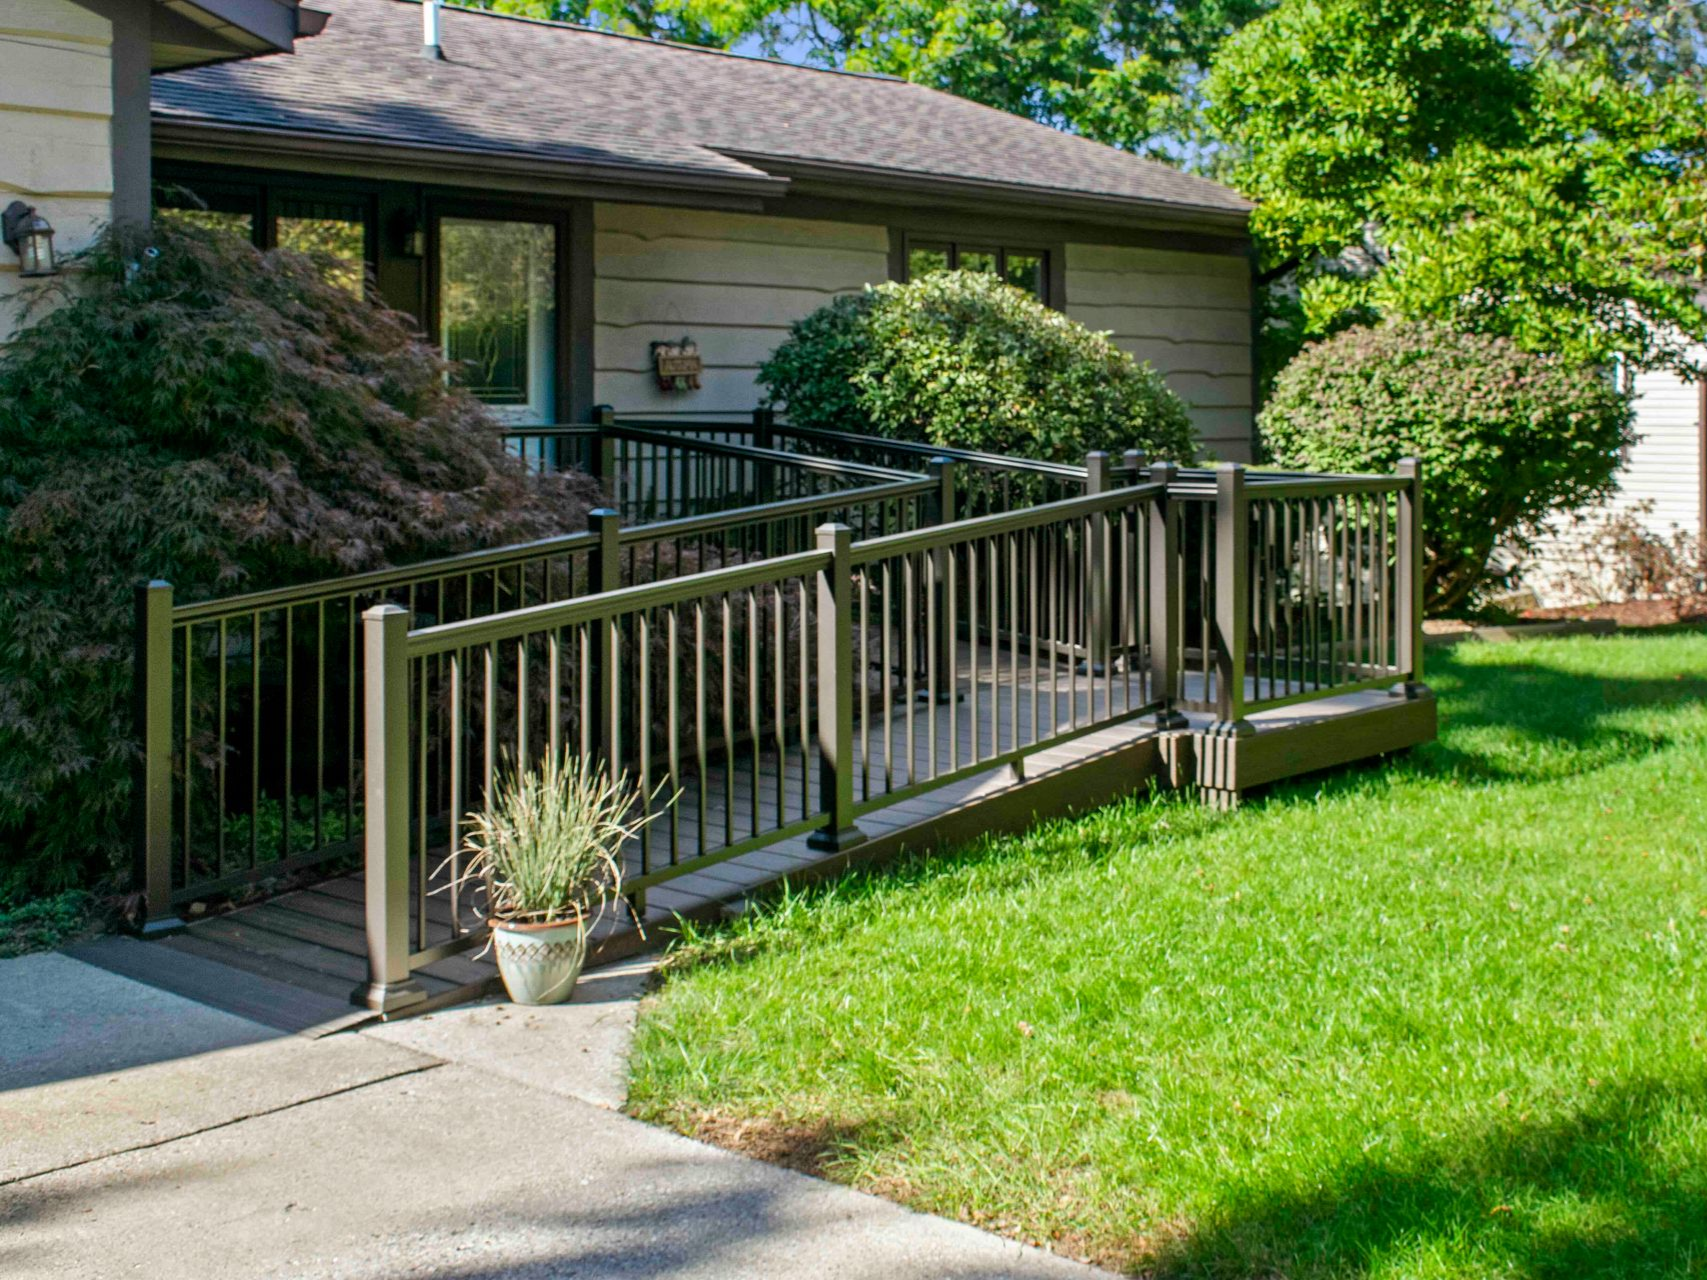
Site prep: Michigan homes often have uneven grades, settled walkways, porch steps, or landscaping that blocks the cleanest ramp path. Grading, removing shrubs, adjusting downspouts, or building supports can change a quote fast.
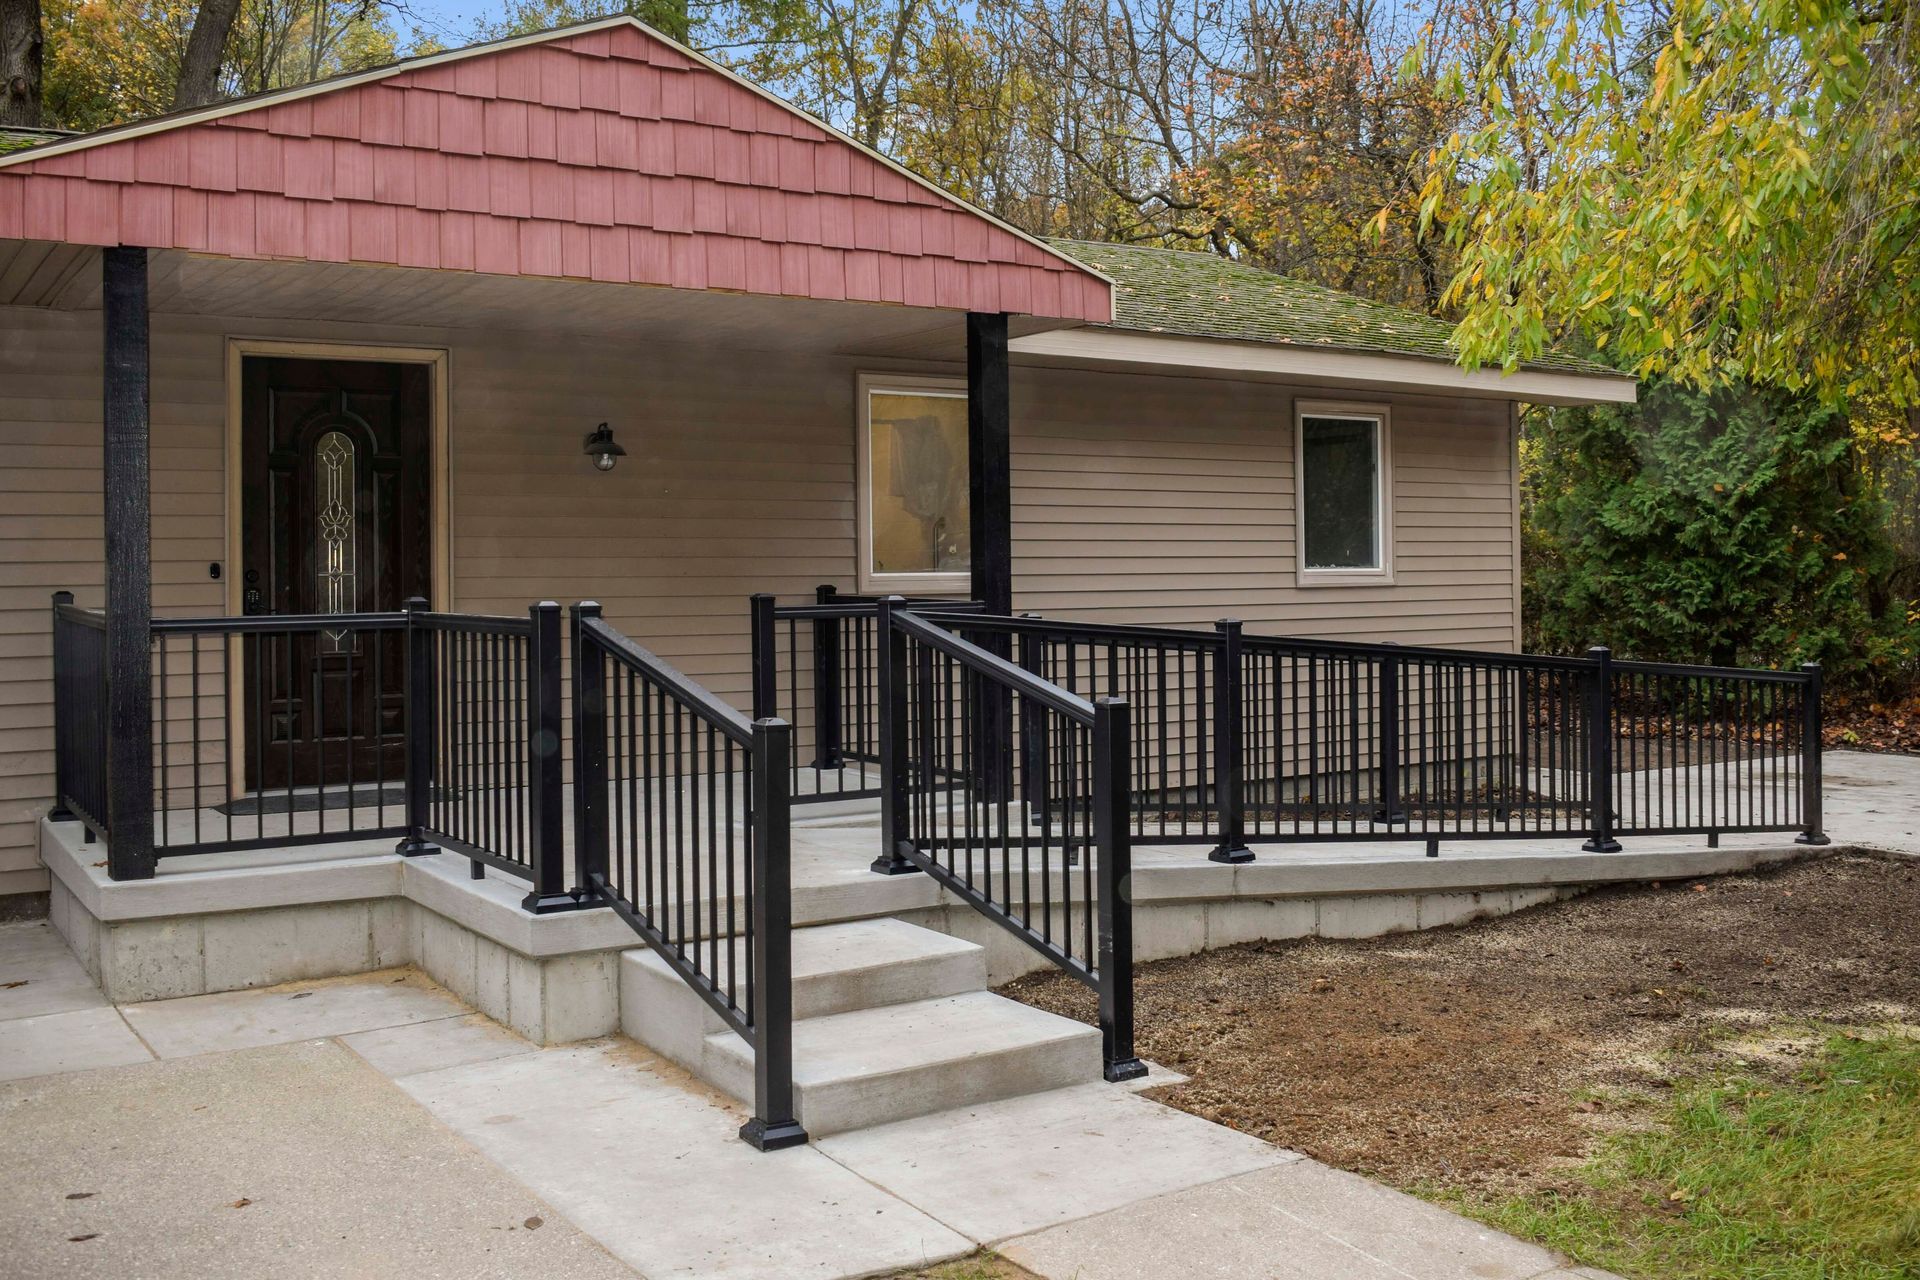
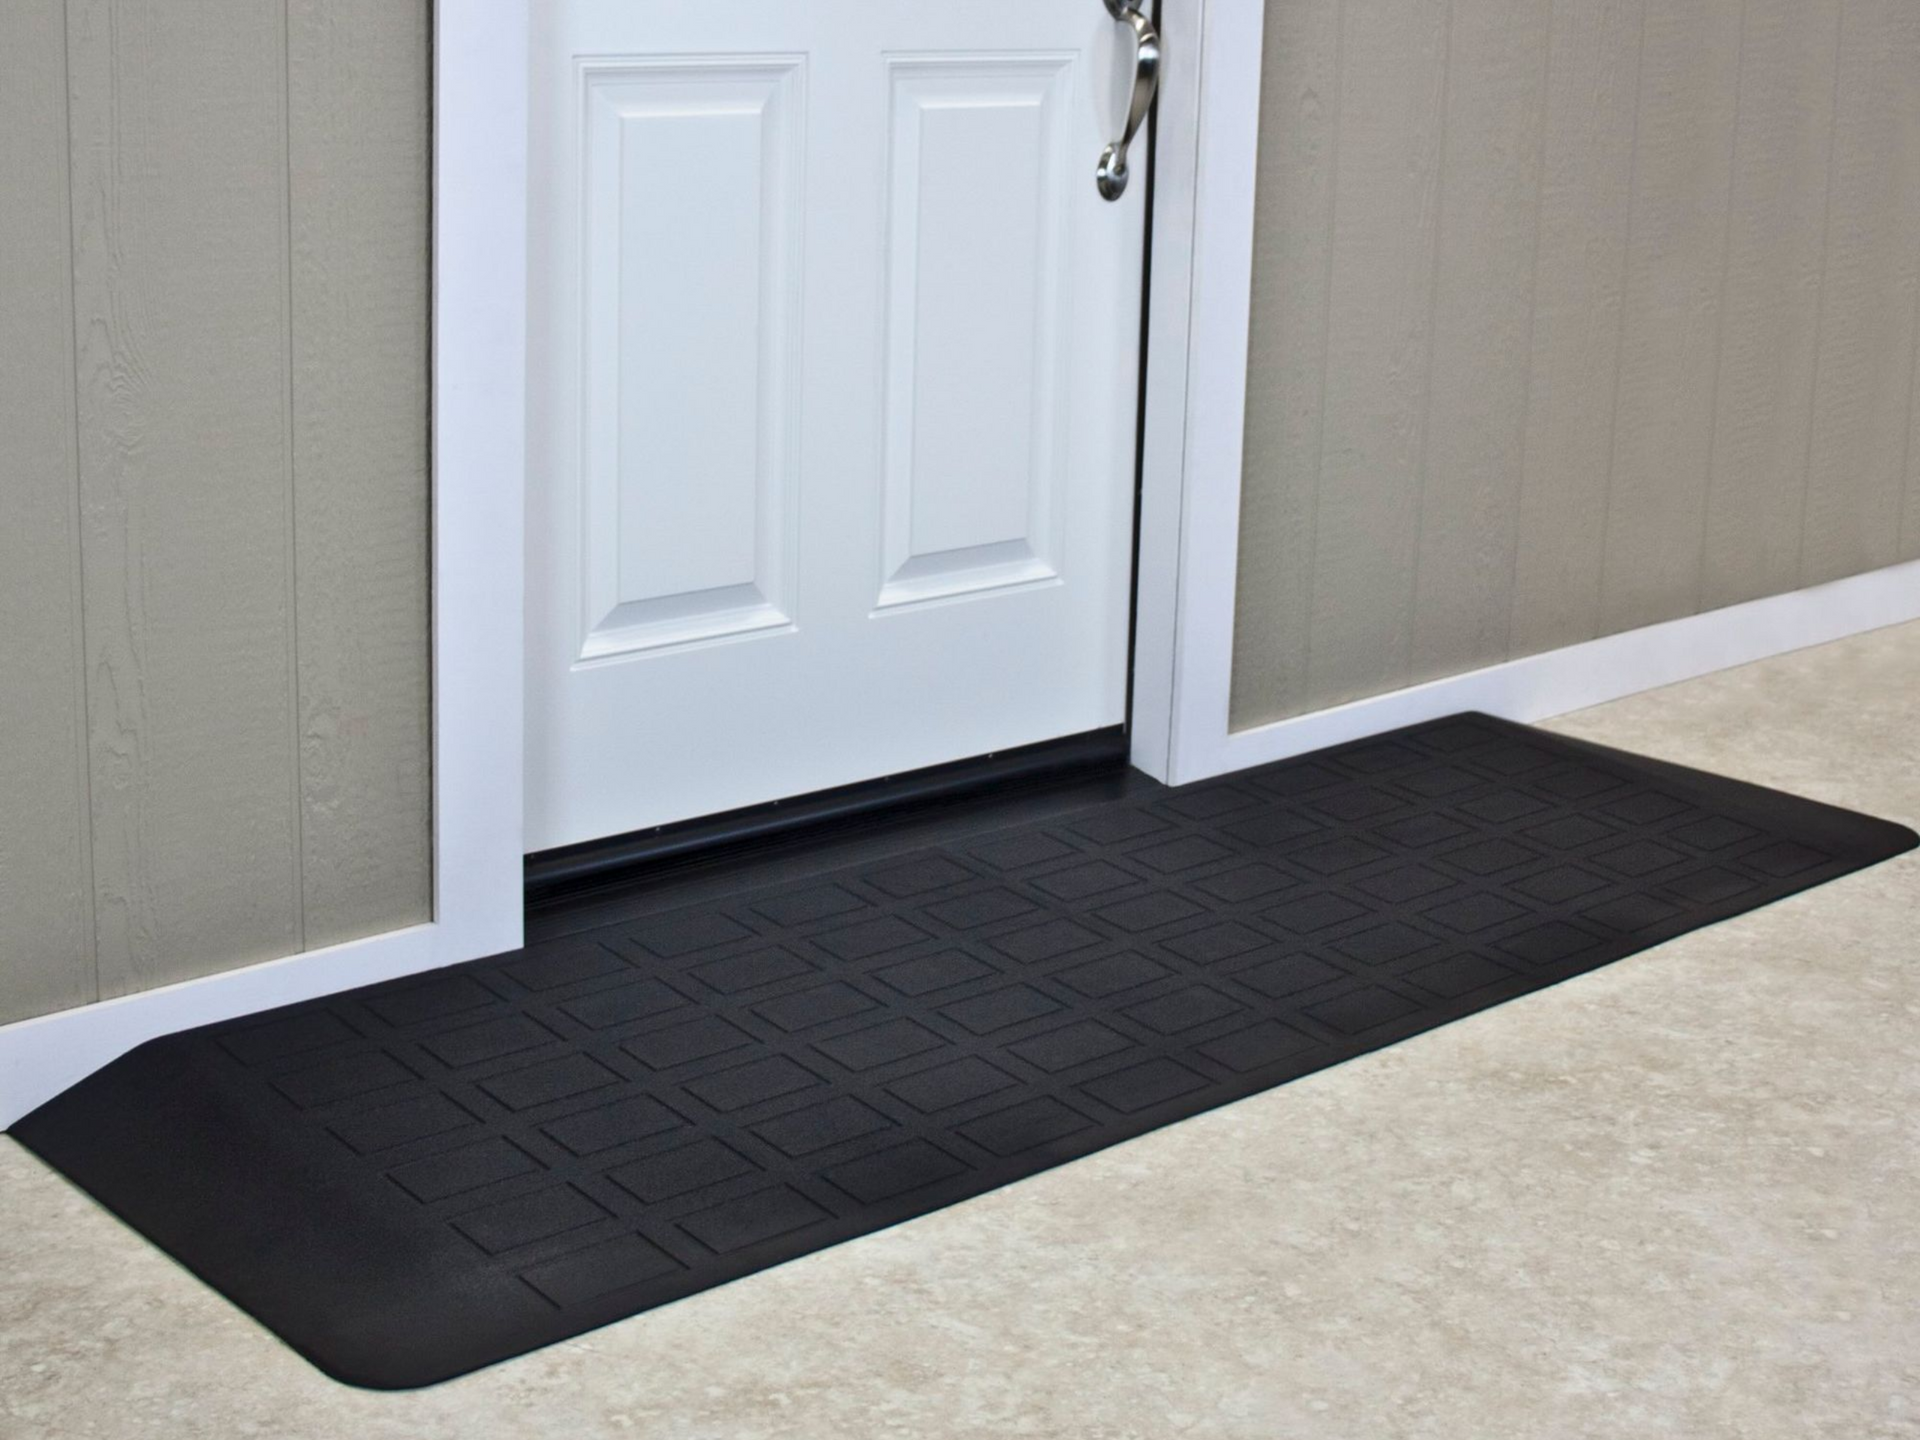
Stairs, porches, and thresholds: Sometimes the ramp isn’t the hard part. The tricky part is tying into a porch safely, dealing with a small stoop, or fixing a door threshold that catches wheels.
Removal of an old ramp: If there’s a worn wood ramp, rotted posts, or an older modular system in the way, removal and disposal can be a separate line item.
Delivery and staging: Modular ramps arrive in sections. Access to the install area matters. A long carry from the driveway, snow-covered paths, or limited staging space can add labor.
One more piece people don’t expect:
labor cost is often tied to the length of modular systems, and labor can be a major part of the total cost. That’s why two ramps made of the same material can land thousands of dollars apart.
How to estimate ramp length from your steps and rise
You don’t need a contractor to get a rough idea. A quick estimate helps you plan and spot unrealistic quotes.
- Measure total rise: Measure from the ground (where the ramp will start) to the top of the threshold or porch surface (where the ramp must end). Use inches.
- Multiply rise by 12: Using the 1:12 rule, a 24-inch rise needs about 288 inches of ramp.
- Convert inches to feet: Divide by 12. In this example, 288 inches is 24 feet of ramp.
Keep two reality checks in mind:
- Many doors need a level landing at the top, and longer runs may need extra landings for rest and turning.
- A professional site check for wheelchair ramp installation can prevent costly redesigns. A ramp that looks fine on paper can fail when a downspout, soft soil, or door swing gets involved.
Permits, property rules, and why timelines vary by city
Building permits are common for wood and composite ramps, and they may also come up for larger permanent installs, especially if footings, posts, or concrete are involved. In many Michigan cities and townships, permit fees often fall around $100 to $300, but local rules vary.
Other factors that can slow a ramp project:
- Inspections: Some builds need inspection sign-offs, which can add days or weeks.
- HOA rules: If your neighborhood has an HOA, you may need design approval.
- Tight lots: Small yards can require switchbacks and more design work.
- Winter weather: Frozen ground and snow affect digging, leveling, and scheduling.
- Concrete cure time: Concrete ramps and pads often need time before full use.
When you get a quote, ask one direct question: Who pulls the permit, and what is included? If it’s not written down, it’s easy for costs and timelines to drift.
For a broader context on local accessibility planning, Lakeshore Barrier Free’s
Homeowner’s Checklist for Accessibility in Michigan is a helpful starting point.